How to plant an olive sapling
Planting season, hole dimensions, removing a potted sapling, planting depth and the graft union, the basin and settling water — why settling water is given even in rain, first-year care and five common mistakes.
Whether an olive sapling takes depends less on planting than on the preparation before it. A sapling put into well-prepared soil, at the right depth, in the right season establishes without trouble; if any one of those three is missing it either dies or sulks for years. This article sets out the operation in order.
When to plant
Olive saplings are planted between October and March. There are two windows within that range:
Autumn planting (October–November). Preferred where winters are mild. The sapling roots through the winter and enters spring ready. Suitable for the Aegean and Mediterranean coasts, where frost risk is low.
Spring planting (February–March). Preferred where winters are hard or late frosts occur, putting the sapling in the ground once the frost has passed.
The decision follows the site's frost risk. A young sapling is far more frost-sensitive than a mature tree, and a hard winter can kill a one-year-old planted in autumn.
Before planting: soil preparation
Skip this step and everything after it is compromised. The soil is deep-worked in autumn before planting, to break any hardpan and open the volume the roots will move through.
The olive's root system is spreading rather than deep and concentrates in the top metre. If that layer is compacted the roots cannot spread, and the tree becomes more vulnerable to both drought and frost.
This is also the time for a soil analysis. It determines the organic matter and phosphorus applied before planting — inputs that cannot be placed deep in the soil once the tree is in. See olive fertilisation and soil analysis.
Hole dimensions
The hole is sized to the ground:
| Land type | Hole size |
|---|---|
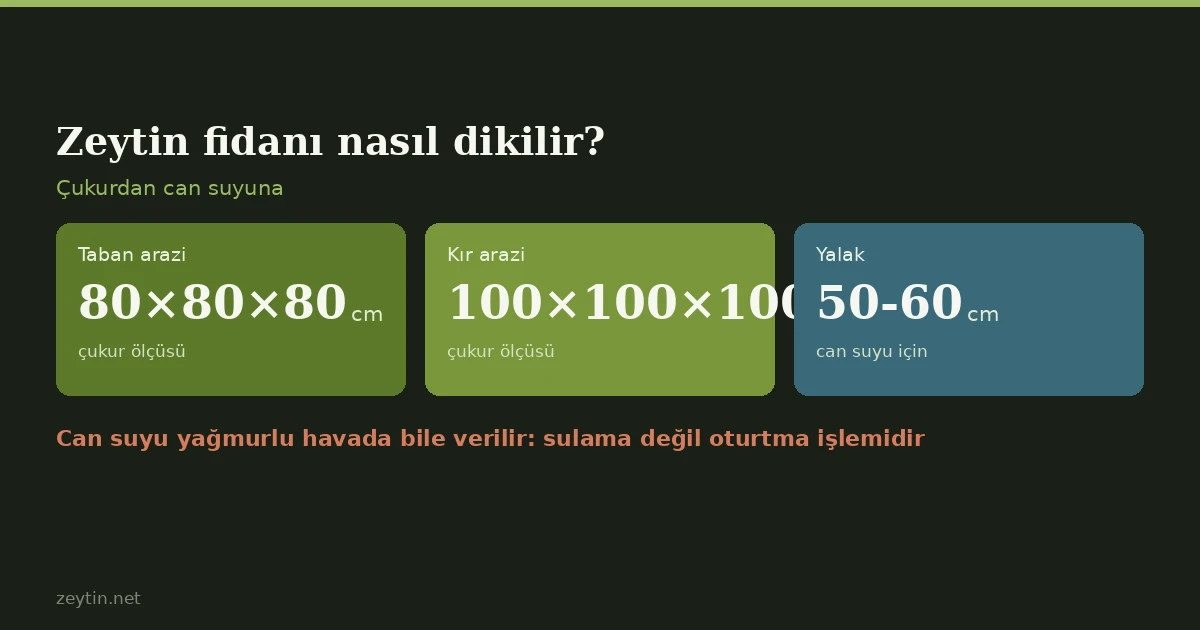
| Bottomland | 80 × 80 × 80 cm |
| Upland and upland-bottom | 100 × 100 × 100 cm |
Holes are larger on upland ground because the soil is shallower and stonier; the loose volume the roots need in their first years has to be dug by hand.
While digging, keep topsoil and subsoil in separate piles. Topsoil is richer in organic matter and is what should go back around the roots.
Planting
1. Carry the sapling to the hole by its container. Lifting it by the stem and swinging it breaks up the root ball.
2. Remove the pot. Tear the plastic and slide the sapling out without disturbing the root ball. A broken root ball directly lowers establishment rates.
3. Set it in the centre. The stem should stand straight and upright.
4. Watch the depth. The sapling may sit one to two fingers deeper than the soil level it had in the pot. Any more is harmful.
5. Do not bury the graft union. On a grafted sapling, the union must stay above soil level. A buried union lets the variety root on its own and eventually cuts the rootstock out of the system.
6. Backfill and firm. Fill with the remaining soil and firm it down underfoot, so no air pocket is left between root and soil.
7. Form a basin. Make a watering basin 50–60 cm across around the sapling.
8. Give settling water. Apply enough settling water — even in wet weather. Its purpose is not irrigation but to settle soil around the roots and close air pockets. Skip it and a sapling can dry out even through a rainy winter.
Spacing
How far apart to plant depends on the system you are establishing, and it determines the whole life of the grove. Traditional, high-density and super-high-density planting call for different tree numbers, different varieties and different harvesting methods.
This decision must be made before planting; it cannot be changed afterwards. See planting density: how many trees per decare and building a high-density olive grove.
How the pollinator variety is distributed through the grove is planned at this stage too — a single-variety grove sets poorly. On sapling and variety choice see choosing certified olive saplings.
The first year after planting
Staking. In windy sites a young sapling is tied to a stake, loosely and with soft material so the tie cannot girdle the stem.
Irrigation. The olive is drought-tolerant, but that applies to an established tree. For the first two or three years a sapling needs regular water, its roots not yet having reached depth. If drip irrigation is planned, installing it at planting is the practical route: olive irrigation and drip systems.
Weed control. Weeds inside the basin compete with the sapling for water and nutrients. Keep the basin clean in the early years.
Formative pruning. The tree's framework is built in the first four years, and the pruning done then sets its shape for the following thirty: how and when to prune olives.
Fertilising. Do not apply heavy fertiliser to a newly planted sapling; it can burn the roots. Work from the soil analysis.
Common mistakes
Planting too deep. The commonest error. A sapling with its stem buried is choked and stays stunted for years. The soil line from the pot is your marker.
Skipping the settling water. Often skipped on the reasoning that the soil is already damp — but settling water is not irrigation, it is what closes the air pockets.
Too small a hole. Digging a hole the size of the root ball traps the roots inside hard soil.
Breaking the root ball. If it falls apart during removal, fine roots tear and the sapling stalls for months.
Burying the graft union. The consequences appear years later and cannot be corrected.
One rating per visitor; you can change yours at any time. Ratings are real reader votes — no seeded or default scores.
Related
 Article
When does the olive harvest begin?
The harvest starts in late September and runs into February. Erkence is earliest, Memecik hangs into mid-December, and Mission's table and oil harvests are two months apart.
Article
When does the olive harvest begin?
The harvest starts in late September and runs into February. Erkence is earliest, Memecik hangs into mid-December, and Mission's table and oil harvests are two months apart.
 Article
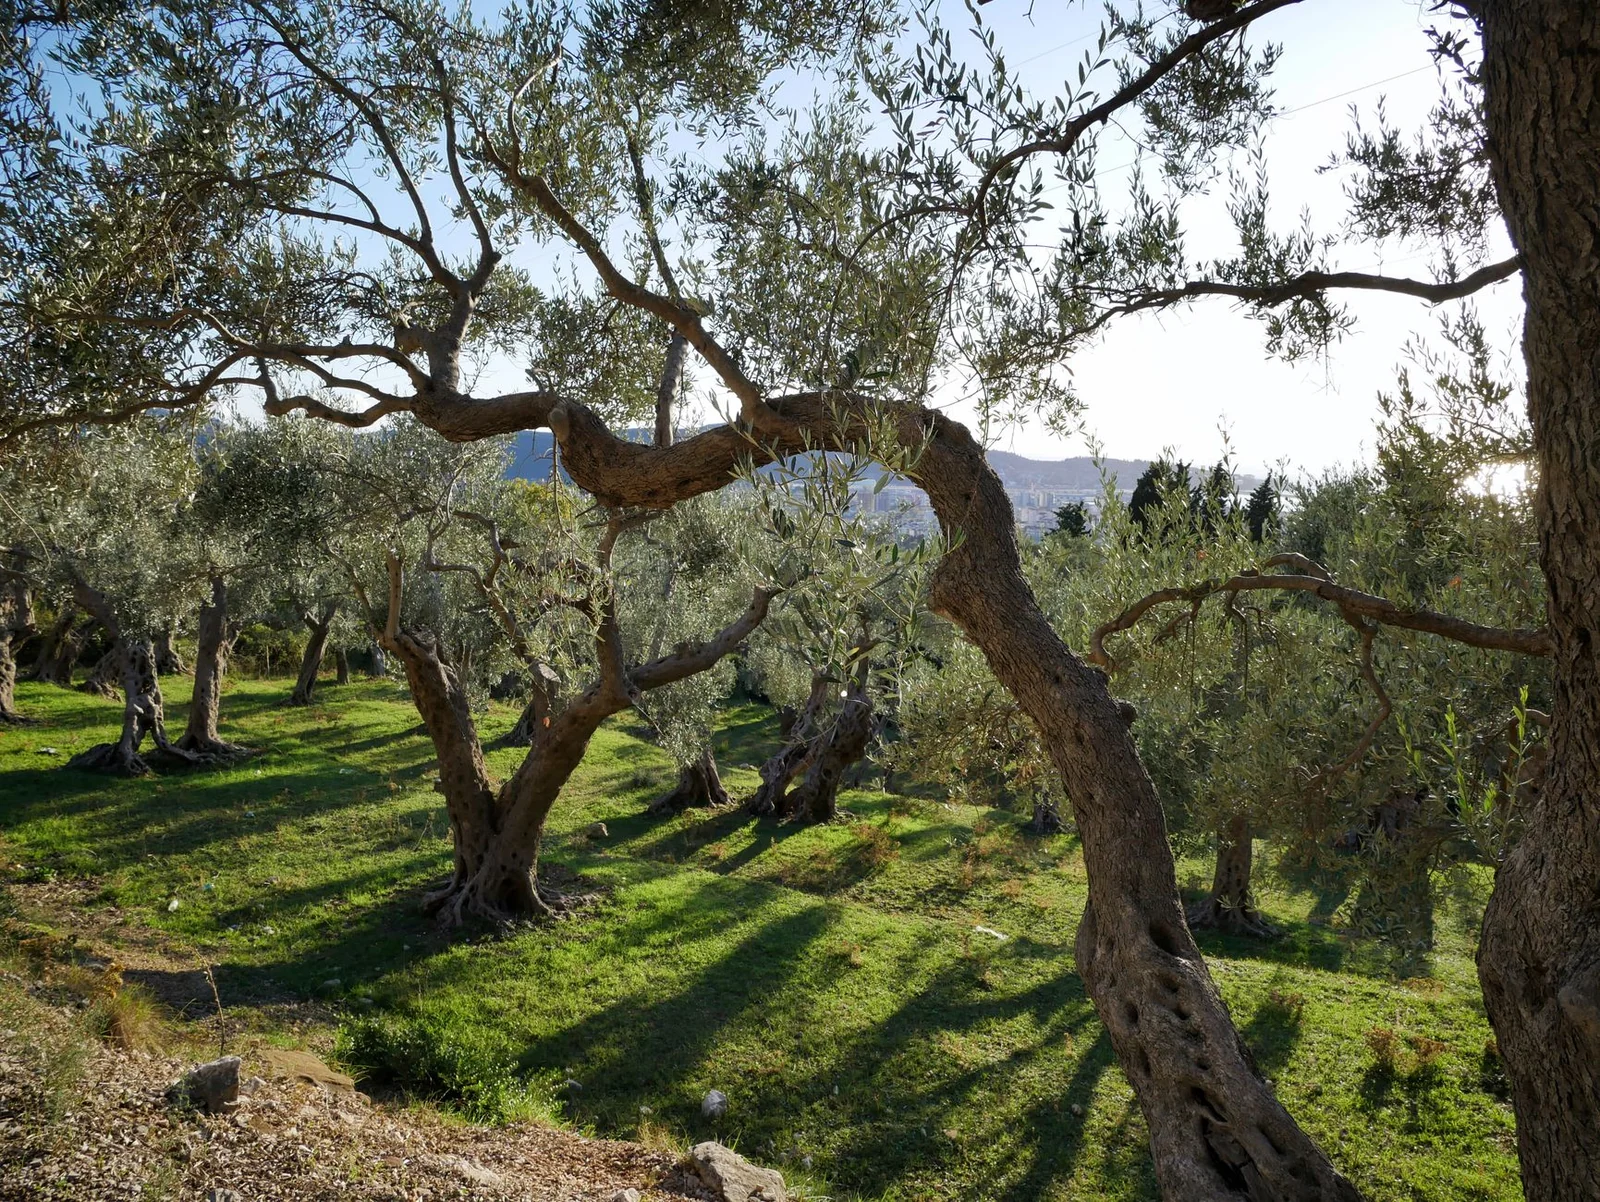
Olive Pruning: Why, When and How
Why olives are pruned, when to do it, formative and production pruning, rejuvenation and high-density systems.
Article
Olive Pruning: Why, When and How
Why olives are pruned, when to do it, formative and production pruning, rejuvenation and high-density systems.
 Article
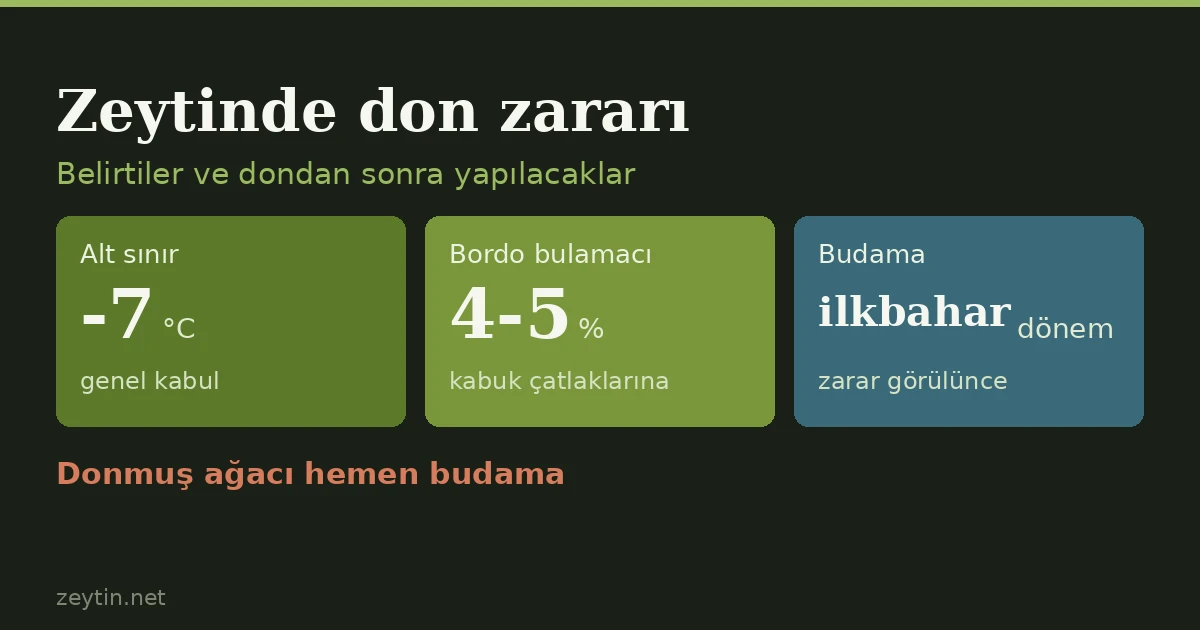
Frost damage in olive trees: signs, risk factors and what to do after a frost
The generally accepted lower limit for olives is around -7 °C, but damage does not depend on the thermometer alone: how long the cold lasts, sudden drops, humidity, tree age and nutrition all matter. Here are the signs of frost damage on leaves, shoots, bark and fruit, ways to reduce the risk and which job to do when after a frost.
Article
Frost damage in olive trees: signs, risk factors and what to do after a frost
The generally accepted lower limit for olives is around -7 °C, but damage does not depend on the thermometer alone: how long the cold lasts, sudden drops, humidity, tree age and nutrition all matter. Here are the signs of frost damage on leaves, shoots, bark and fruit, ways to reduce the risk and which job to do when after a frost.
 Article
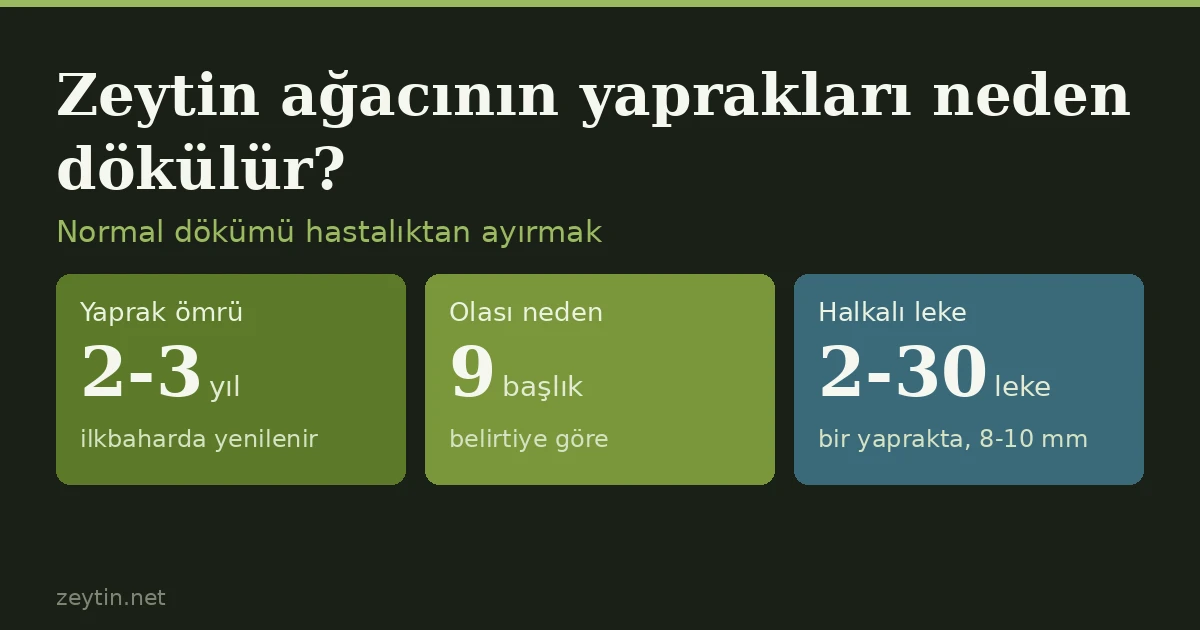
Why is my olive tree dropping its leaves?
An olive leaf lives two to three years and falls in spring along with the new growth; that is normal. The worrying drop is the one whose season, location or amount does not fit. Rings on the upper surface point to peacock spot, grey patches underneath to Cercospora leaf spot, dieback on one branch to Verticillium, one-sided yellowing to root rot. Water, nutrient deficiencies, scale insects, frost and lack of light also make olives shed leaves. How to tell them apart, and what to do.
Article
Why is my olive tree dropping its leaves?
An olive leaf lives two to three years and falls in spring along with the new growth; that is normal. The worrying drop is the one whose season, location or amount does not fit. Rings on the upper surface point to peacock spot, grey patches underneath to Cercospora leaf spot, dieback on one branch to Verticillium, one-sided yellowing to root rot. Water, nutrient deficiencies, scale insects, frost and lack of light also make olives shed leaves. How to tell them apart, and what to do.